AI-generated images are revolutionizing how we interact with visual content, and tools like Bing Image Creator are at the forefront of this innovation.
Harnessing the power of artificial intelligence, Bing Image Creator offers users a convenient platform to create stunning visuals easily.
But have you ever wondered how to extend the capabilities of AI-generated images beyond their initial creation?
Let’s explore the exciting realm of extending AI images created by Bing Image Creator using Canva.
Whether you’re a digital artist looking to push the boundaries of your designs or a marketer seeking fresh ways to capture your audience’s attention, the ability to extend AI images can be a game-changer.
Read on to learn how to maximize the benefits of AI-generated images, propelling your visual content to new heights.
Understanding Bing Image Creator and AI Images
Bing Image Creator is a powerful tool that harnesses the capabilities of artificial intelligence to generate stunning images with a simple click.
Combining innovation and creativity, Bing Image Creator offers users a seamless experience of transforming ordinary pictures into extraordinary art pieces.
Key Features of Bing Image Creator
The Bing Image Creator boasts many features that set it apart from traditional image editing tools.
One standout functionality is style transfer, which allows users to apply unique artistic styles to their images, giving them a new and distinctive look.
Additionally, the image enhancement feature enables users to enhance the quality of their pictures, making them sharper and more vibrant.
Customization options further empower users to personalize their images according to their preferences, ensuring every creation is unique.
How to Use Bing Image Creator
Bing’s features collectively create high-quality AI-generated images that stand out digitally.
Go to the Designer and Log in
To make cool images with Designer’s Image Creator, hop on to Bing.com – no OpenAI account necessary!
You can also find the Image Creator via Copilot new Bing or by visiting bing.com/images/create.
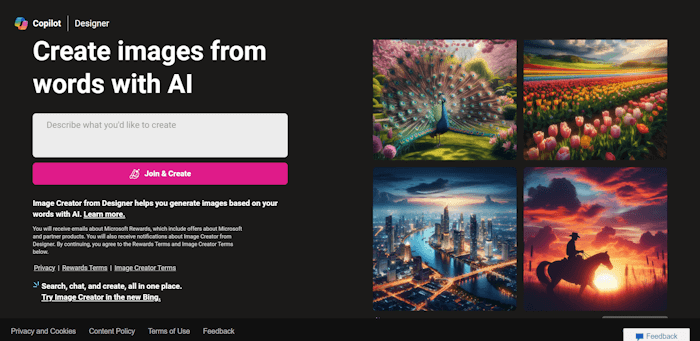
You don’t need Microsoft Edge to use Image Creator in Designer. Join and create, log in to your Microsoft account, and start using the image generator.
Enter Your Image Prompt
Write your prompt in the white box, “Describe what you would like to create.”
You might need to sign in with your Google or Live account. Then, follow the prompts to access the creator.
Once you’ve typed out what you want your image to be, give the Image Creator a nudge in the right direction.
Think of it as guiding a savvy AI assistant—the more details, the better the outcome. Once your prompt is all set, hit the Create button!
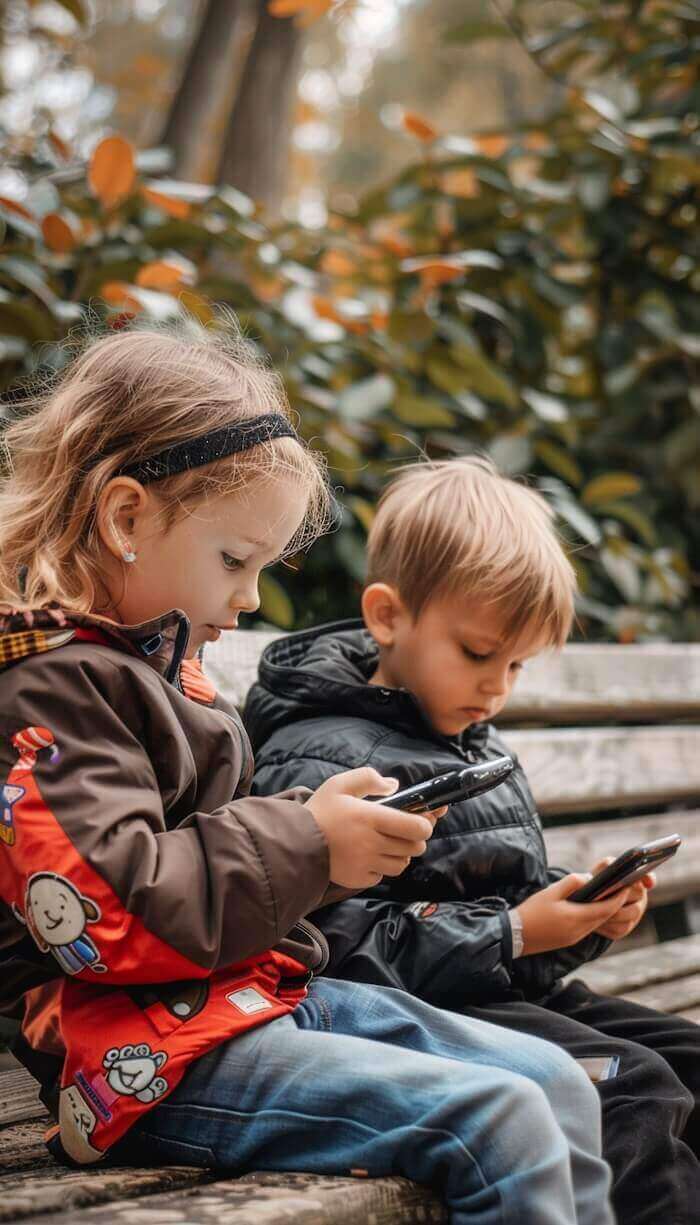
I added the following prompt:
Show me an image of two young kids sitting on a park bench and looking at their mobile devices.
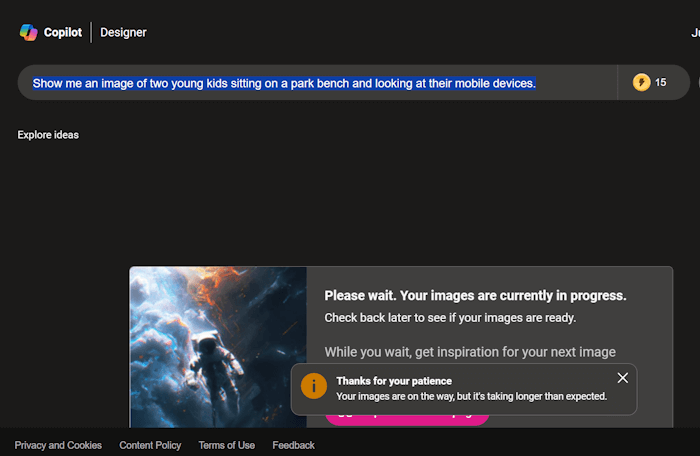
Check Out Your Results
After preparing your images, it’s time to review the outcomes.
Usually, both DALL-E 3 and the Image Creator from Designer will show four new images per request.
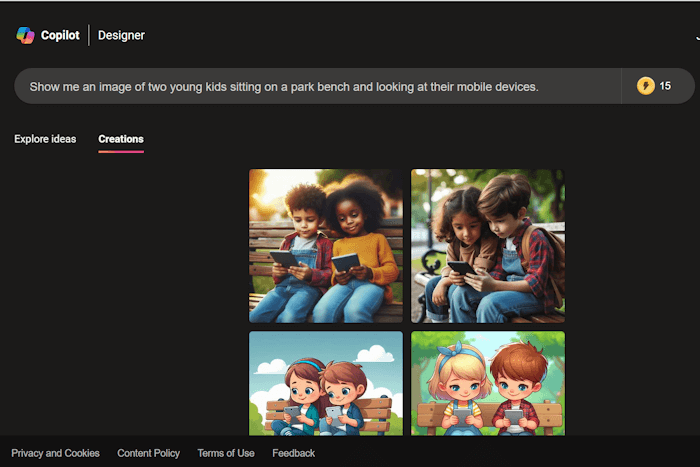
Remember that free AI image generators may not always hit the mark when creating lifelike images.
This could result in noticeable errors in details like finger placement, eye positioning, or even the arrangement of keys on a keyboard.
How to Download Your Images
After browsing through the created images, I saved the image below.

By clicking on an image, you can view it in a larger size and access options to Share, save to your account, download, or offer feedback.
It’s important to mention that you can download one, all, or none of the images.
Following the tool’s integration with Designer, Microsoft has added the ability to personalize the image easily. Clicking on Customize will launch Microsoft Designer.
We will not explain how to use the customize option in more detail as it is outside the scope of this article.
If you want more information, read 5 things you can do with Microsoft Designer and Image Creator from Microsoft.
For better results, being very specific in your prompts works wonders; view the prompt as a thorough description of the mental image you hold.
Use descriptive words like adjectives, nouns, and verbs to portray the image and the subject’s actions – even mentioning styles is excellent.
Requesting the AI bot to craft “a photo of…” yields a different outcome than asking for a cartoon, a painting, or a 3D render; hence, the image style holds significance.
Looking for Help Creating Bing Image Prompts?
I use RIghtBlogger’s AI Tool, MidJourney Prompt Generator, to generate several suggestions I can use on Bing Image Creator.

Pro tip: You should exclude the suggested aspect ratios provided as they will not work in Bing Image Creator – hence the reason for this post!
Why Would You Want to Extend Bing Image Creator Images?
Extending AI images using Bing Image Creator comes with many benefits that cater to the needs of content creators and designers alike.
One significant advantage is the boost in creativity that comes with extending AI images.
One drawback of Bing AI is that it only creates square images or a 1:1 aspect ratio.
However, if you want to create a blog post featuring a rectangular image or use the image in a video, you will want to change the aspect ratio.
Use Canva AI to Expand an Image Created with Bing AI
Canva has added many AI capabilities to its already robust platform. The function we will use here is called “Magic Expand.”
This is a premium product, but you can take a 30-day free trial of Canva to test it and other cool AI features before upgrading.
Note: You will be charged if you don’t cancel your Canva Pro trial before the end date.
Canva will send you a reminder seven days before your trial ends.
This is a nice gesture, as many other companies don’t send you a reminder, and if you forget, they charge you.
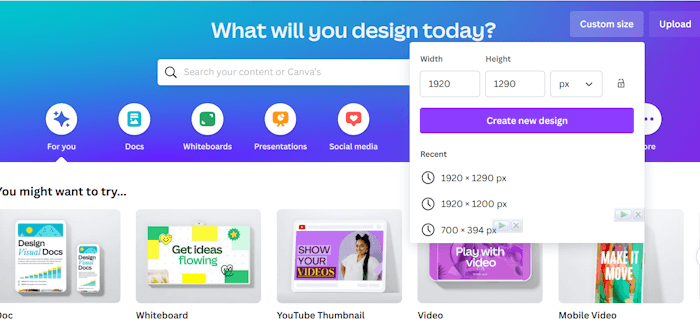
Choose Your Design and Upload Image
If you don’t already have a free Canva account, sign up for one now and log into your account.
Choose a custom size and enter the dimensions for a rectangular shape. I am using 1920 x 1290. Then click Create a design.
Upload Your Image Created in Bing Images
Click on uploads from the navigation menu, select “upload”, and choose the image you created from your desktop.
Once the image is uploaded, click on it to bring it onto your blank canvas.
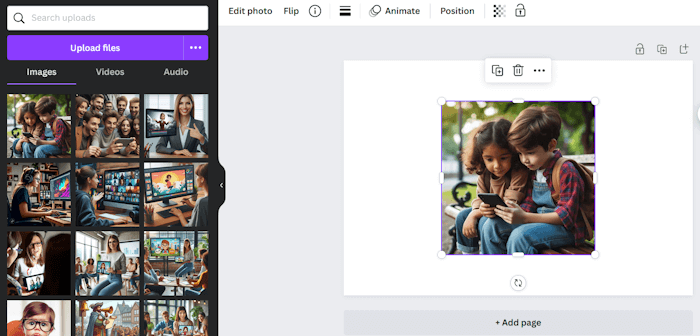
Put your cursor on the image’s corners to cover the canvas’s top and bottom.
Let The Magic Begin with Magic Expand
Click on Edit Photo and click on Magic Expander from the navigation menu.

Here, you will be presented with three options:
- Freeform
- Whole Page
- 1:1
Since we have already selected a rectangular custom size, choose Whole Page and click on Magic Expand.
Using AI, Canva will give you four options. Scrutinize each one and ensure there is nothing funky going on.
Sometimes, AI will add extra fingers or distort the generated images as it attempts to fill in the white space to expand your image.
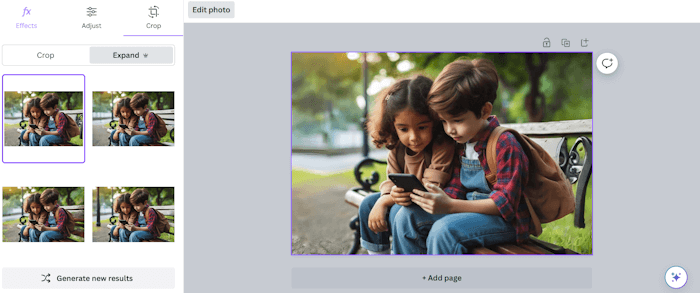
You will also be given the option to generate new results if you don’t like any of the images created.
Select your chosen image, click edit photo, and download your new image. Voila.

Now, you can resize and compress your image as featured in a blog post or as a video asset.
Best Practices for Enhancing Bing Images with AI
Implementing best practices is crucial for elevating the quality and aesthetics of AI images created by Bing Image Creator when extending them.
By following expert tips and incorporating innovative solutions, you can enhance the visual impact of your AI-generated images.
Maintaining Image Quality
Preserving the quality and resolution of AI images throughout the editing process is paramount to achieving professional results.
To ensure that your images remain clear and sharp, it’s essential to work non-destructively.
Avoid excessive compression or resizing, leading to pixelation and loss of detail.
Opt for high-resolution source images and save your edits in a lossless format to retain maximum quality.
Additionally, advanced editing tools with features like sharpening can enhance clarity without compromising the integrity of the image.
Is Bing Image Creator from Designer Free?
The Image Creator by Designer is free, but you can purchase additional boosts if you exhaust your supply.
Boosts act like credits; each prompt requires you to create an image using one of your boosts.
Once your boosts run out, the Image Creator will take longer to generate pictures after receiving a prompt.
Instead of 10-30 seconds, it may take up to five minutes.
Have you tried using Bing Image Creator or other AI-generated image tools?
Share your experiences with us.
Bing Image Creator Update
Since I originally published this post on April 26, 2024, Bing has added the ability to generate images in landscape and the original square.
However, this addition does not negate the value of this blog post. Why? Let me show you.
Here is an image I created using Bing with a square aspect ratio.

To resize the image. Click on it and select “Landscape.”

Here’s where the glitch happens—the image changes when I resize it using Bing.

There’s nothing wrong with the image results, but it’s not what I wanted.
So, I will still use the method I recommend in this post.
Here is the result I prefer.

The choice is yours 🙂
Use AI-Generated Images in Your Marketing Videos
Are you looking to add some pizzazz and creativity to your marketing videos?
Try Pictory.ai, I highly recommend it!
Originally published April 26, 2024; Republished October 4, 2024, to add information.

As a Visual Digital Marketing Specialist for New Horizons 123, Julie works to grow small businesses, increasing their online visibility by leveraging the latest in internet and video technologies. She specializes in creative camera-less animated video production, custom images, content writing, and SlideShare presentations. Julie also manages content, blog management, email marketing, marketing automation, and social media for her clients.


Hi Julie,
I hadn’t tried this image creator from Bing, it looks very promising to give me better images than what Canva offers. Thanks so much for sharing about it.
I can’t wait now to try it out!
You’re very welcome, Lisa. Like all AI-generated images, watch out for pointy heads and extra fingers 🙂